| --- |
| title: "Bitbucket Server/Data Center" |
| sidebar_position: 7 |
| description: Config UI instruction for Bitbucket Server/Data Center |
| --- |
| |
| Visit Config UI at `http://localhost:4000` and go to the `Connections` page. |
| |
| ## Step 1 - Add Data Connections |
| |
|  |
| |
| ### Step 1.1 - Authentication |
| |
| #### Connection Name |
| |
| Give your connection a unique name to help you identify it in the future. |
| |
| #### Endpoint URL |
| |
| For Bitbucket Server/Data Center, you do need to enter the REST API endpoint URL, which generally is `https://<bitbucket-server>/`. |
| |
| #### Username and App Password |
| |
| The following permissions are required to collect data from Bitbucket repositories: |
| |
| - Repository read |
| |
|  |
| |
| |
| #### Proxy URL (Optional) |
| |
| If you are behind a corporate firewall or VPN you may need to utilize a proxy server. Enter a valid proxy server address on your network, e.g. `http://your-proxy-server.com:1080` |
| |
| |
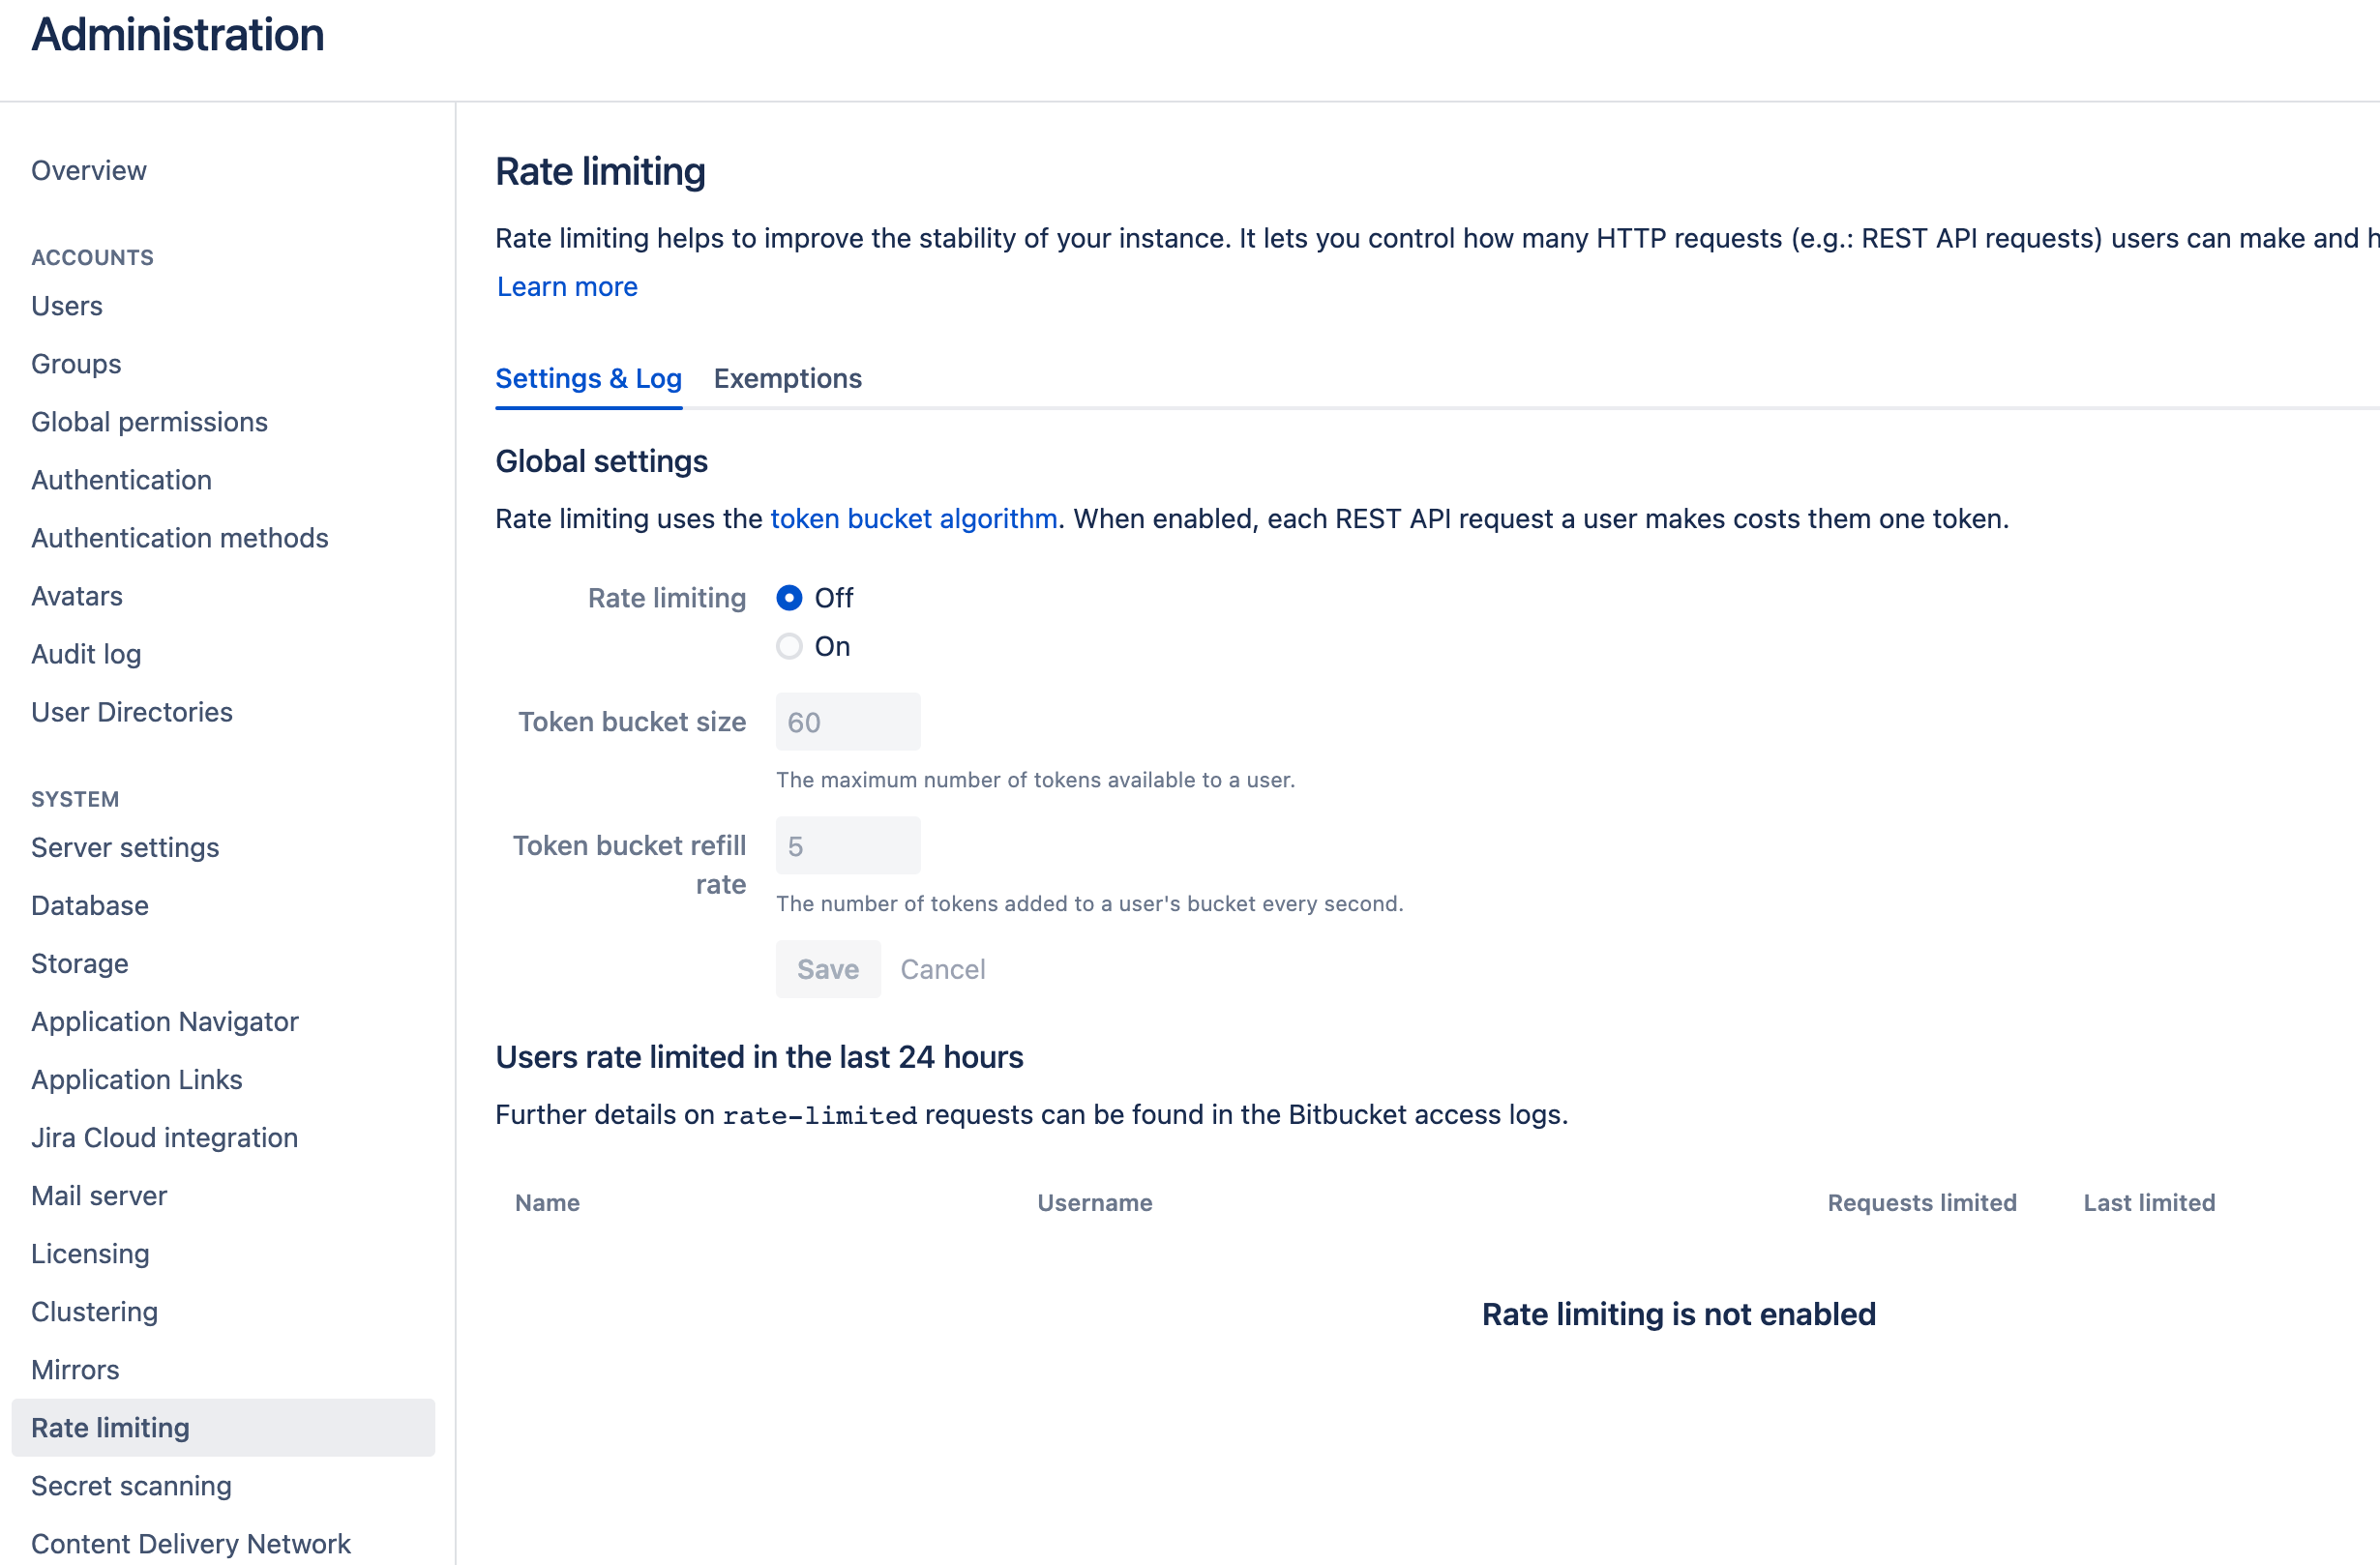
| #### Fixed Rate Limit (Optional) |
| |
| DevLake uses a dynamic rate limit to collect Bitbucket Server/Data Center data. You can adjust the rate limit if you want to increase or lower the speed. |
| |
| Bitbucket admins could set up the rate limit in the Bitbucket instance referring to [this doc](https://confluence.atlassian.com/bitbucketserver/improving-instance-stability-with-rate-limiting-976171954.html). |
| |
| <!--  --> |
| |
| |
| #### Test and Save Connection |
| |
| Click `Test Connection`, if the connection is successful, click `Save Connection` to add the connection. |
| |
| ### Step 1.2 - Add Data Scopes |
| |
| Choose the Bitbucket repositories you wish to collect either by finding them in the miller column, or searching. You can only add public repositories through the search box. |
| |
|  |
| |
| ### Step 1.3 - Add Scope Config (Optional) |
| #### Entities |
| The entities of which domain you wish to collect: Usually, you don't have to modify this part. However, if you don't want to collect certain Bitbucket Server/Data Center entities, you can unselect some entities to accelerate the collection speed. |
| - Source Code Management: Bitbucket repos, refs, commits, etc. |
| - Code Review: Bitbucket PRs, PR comments, etc. |
| - Cross Domain: Bitbucket users, etc. |
| |
| Please noted that compared to Bitbucket Cloud, Bitbucket Server/Data Center DOES NOT collect issues or CI/CD data. |
| |
| #### Transformations |
| The transformations on the Bitbucket Server data you are going to collect. |
| - The details of the transformations will be explained below. |
| - Without adding transformation rules, you can still view the 'Bitbucket' dashboard. However, if you want to view more pre-built dashboards, finish the transformations required. |
| - Each Bitbucket repo has at most ONE set of transformations. |
| |
| |
| ###### Code Review |
| |
| - Type: The `type` of pull requests will be parsed from PR labels by given regular expression. For example: |
| |
| - when your labels for PR types are like 'type/feature-development', 'type/bug-fixing' and 'type/docs', please input 'type/(.\*)$' |
| - when your labels for PR types are like 'feature-development', 'bug-fixing' and 'docs', please input '(feature-development|bug-fixing|docs)$' |
| |
| - Component: The `component` of pull requests will be parsed from PR labels by given regular expression. |
| |
| |
| ###### Additional Settings (Optional) |
| |
| - Tags Limit: DevLake compares the last N pairs of tags to get the "commit diff', "issue diff" between tags. N defaults to 10. |
| |
| - commit diff: new commits for a tag relative to the previous one |
| - issue diff: issues solved by the new commits for a tag relative to the previous one |
| |
| - Tags Pattern: Only tags that meet the given Regular Expression will be counted. |
| |
| - Tags Order: Only "reverse semver" order is supported for now. |
| |
| Please click `Save` to save the transformation rules for the repo. In the data scope list, click `Next Step` to continue configuring. |
| |
| |
| ## Step 2 - Collect Data in a Project |
| ### Step 2.1 - Create a Project |
| Collecting Bitbucket data requires creating a project first. You can visit the Project page from the side menu and create a new project by following the instructions on the user interface. |
| |
|  |
| |
| ### Step 2.2 - Add a Bitbucket Server Connection |
| You can add a previously configured Bitbucket Server connection to the project and select the boards for which you wish to collect the data for. |
| Please note: if you don't see the repositories you are looking for, please check if you have added them to the connection first. |
| |
|  |
| |
| ### Step 2.3 - Set the Sync Policy |
| There are three settings for Sync Policy: |
| - Data Time Range: You can select the time range of the data you wish to collect. The default is set to the past six months. |
| - Sync Frequency: You can choose how often you would like to sync your data in this step by selecting a sync frequency option or enter a cron code to specify your preferred schedule. |
| - Skip Failed Tasks: sometime a few tasks may fail in a long pipeline; you can choose to skip them to avoid spending more time in running the pipeline all over again. |
| |
|  |
| |
| ### Step 2.4 - Start Data Collection |
| Click on "Collect Data" to start collecting data for the whole project. You can check the status in the Status tab on the same page. |
| |
| |
| ## Troubleshooting |
| |
| If you run into any problems, please check the [Troubleshooting](/Troubleshooting/Configuration.md) or [create an issue](https://github.com/apache/incubator-devlake/issues). |