title: “Configuring Jenkins” sidebar_position: 5 description: Config UI instruction for Jenkins
Visit config-ui: http://localhost:4000.
Step 1 - Add Data Connections

Connection Name
Name your connection.
Endpoint URL
This should be a valid REST API endpoint. Eg. https://ci.jenkins.io/. The endpoint url should end with /.
Username (E-mail)
Your User ID for the Jenkins Instance.
Password
For help on Username and Password, please see Jenkins docs on using credentials. You can also use “API Access Token” for this field, which can be generated at User -> Configure -> API Token section on Jenkins.
Test and Save Connection
Click Test Connection, if the connection is successful, click Save Connection to add the connection.
Step 2 - Setting Data Scope
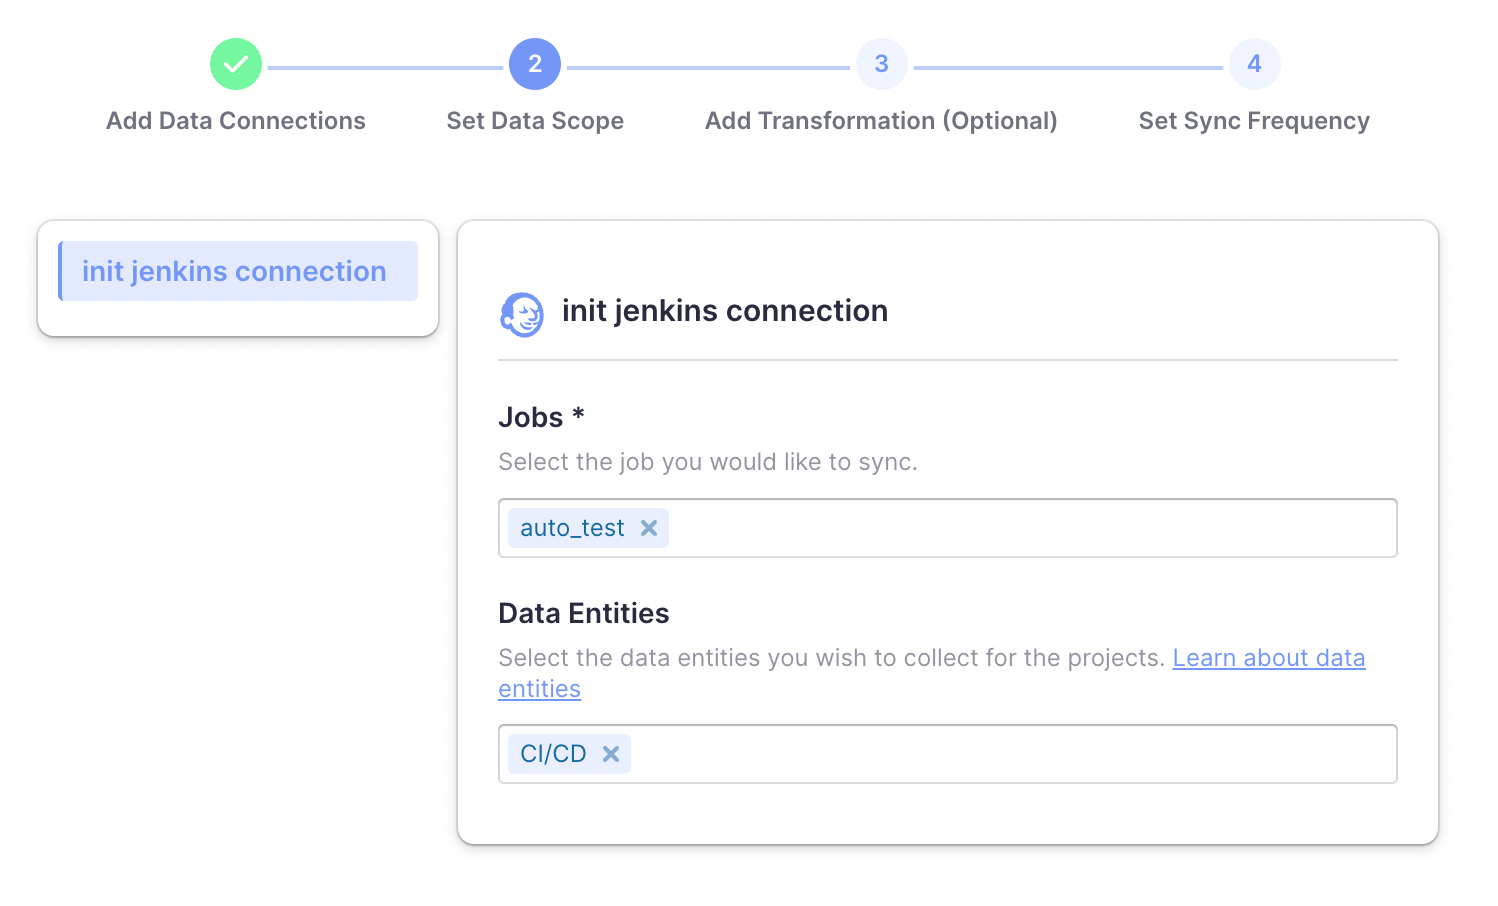
Jobs
Choose the Jenkins jobs to collect.
Data Entities
Jenkins only supports CI/CD domain entities, transformed from Jenkins builds and stages.
- CI/CD: Jenkins builds, stages, etc.
Step 3 - Adding Transformation Rules (Optional)
There are no transformation rules for Jenkins.
Step 4 - Setting Sync Frequency
You can choose how often you would like to sync your data in this step by selecting a sync frequency option or enter a cron code to specify your prefered schedule.