| --- |
| title: "Bitbucket Cloud" |
| sidebar_position: 7 |
| description: Config UI instruction for Bitbucket(Cloud) |
| --- |
| |
| Visit Config UI at `http://localhost:4000` and go to the `Connections` page. |
| |
| ## Step 1 - Add Data Connections |
| |
|  |
| |
| ### Step 1.1 - Authentication |
| |
| #### Connection Name |
| |
| Give your connection a unique name to help you identify it in the future. |
| |
| #### Endpoint URL |
| |
| For Bitbucket Cloud, you do not need to enter the REST API endpoint URL, which is always `https://api.bitbucket.org/2.0/`. |
| |
| #### Authentication Method |
| |
| :::warning App Password Deprecation |
| Bitbucket is deprecating App passwords in favor of API tokens: |
| |
| - **September 9, 2025**: Creation of new App passwords will be discontinued |
| - **June 9, 2026**: All existing App passwords will be deactivated |
| |
| **Please use API tokens for all new connections.** Existing connections using App passwords should be migrated to API tokens before June 9, 2026. |
| ::: |
| |
| You can choose between two authentication methods: |
| |
| ##### API Token (Recommended) |
| |
| API tokens are the recommended authentication method for Bitbucket Cloud. Learn about [how to create a Bitbucket API token](https://support.atlassian.com/bitbucket-cloud/docs/create-an-api-token/). |
| |
| **Steps to create an API token:** |
| |
| 1. Sign in at [https://id.atlassian.com/manage-profile/security/api-tokens](https://id.atlassian.com/manage-profile/security/api-tokens). |
| 2. Select **Create API token with scopes**. |
| 3. Give the API token a name and an expiry date (ex: 365 days), then select **Next**. |
| 4. Select **Bitbucket** as the app and select **Next**. |
| 5. Select the required scopes (see below) and select **Next**. |
| 6. Review your token and select **Create token**. |
| 7. **Copy the generated API token immediately** - it's only displayed once and can't be retrieved later. |
| |
| For detailed instructions, refer to [Atlassian's API token documentation](https://support.atlassian.com/bitbucket-cloud/docs/create-an-api-token/). |
| |
| **Required Scopes:** |
| |
| The following scopes are **required** to collect data from Bitbucket repositories: |
| |
| - `read:account` - Required to view users profiles |
| - `read:issue:bitbucket` - View your issues |
| - `read:pipeline:bitbucket` - View your pipelines |
| - `read:project:bitbucket` - View your projects |
| - `read:pullrequest:bitbucket` - View your pull requests |
| - `read:repository:bitbucket` - View your repositories |
| - `read:runner:bitbucket` - View your workspaces/repositories' runners |
| - `read:user:bitbucket` - View user info (required for connection test) |
| - `read:workspace:bitbucket` - View your workspaces |
| |
|  |
| |
| ##### App Password (Deprecated) |
| |
| :::caution Deprecated |
| App passwords are deprecated and should only be used for existing connections. For new connections, please use API tokens instead. |
| ::: |
| |
| If you're using an existing App password, learn about [how to create a Bitbucket app password](https://support.atlassian.com/bitbucket-cloud/docs/create-an-app-password/). |
| |
| **Required Permissions:** |
| |
| - Account:Read |
| - Workspace membership:Read |
| - Projects:Read |
| - Repositories:Read |
| - Pull requests:Read |
| - Issues:Read |
| - Pipelines:Read |
| - Runners:Read |
| |
|  |
| |
| #### Proxy URL (Optional) |
| |
| If you are behind a corporate firewall or VPN you may need to utilize a proxy server. Enter a valid proxy server address on your network, e.g. `http://your-proxy-server.com:1080` |
| |
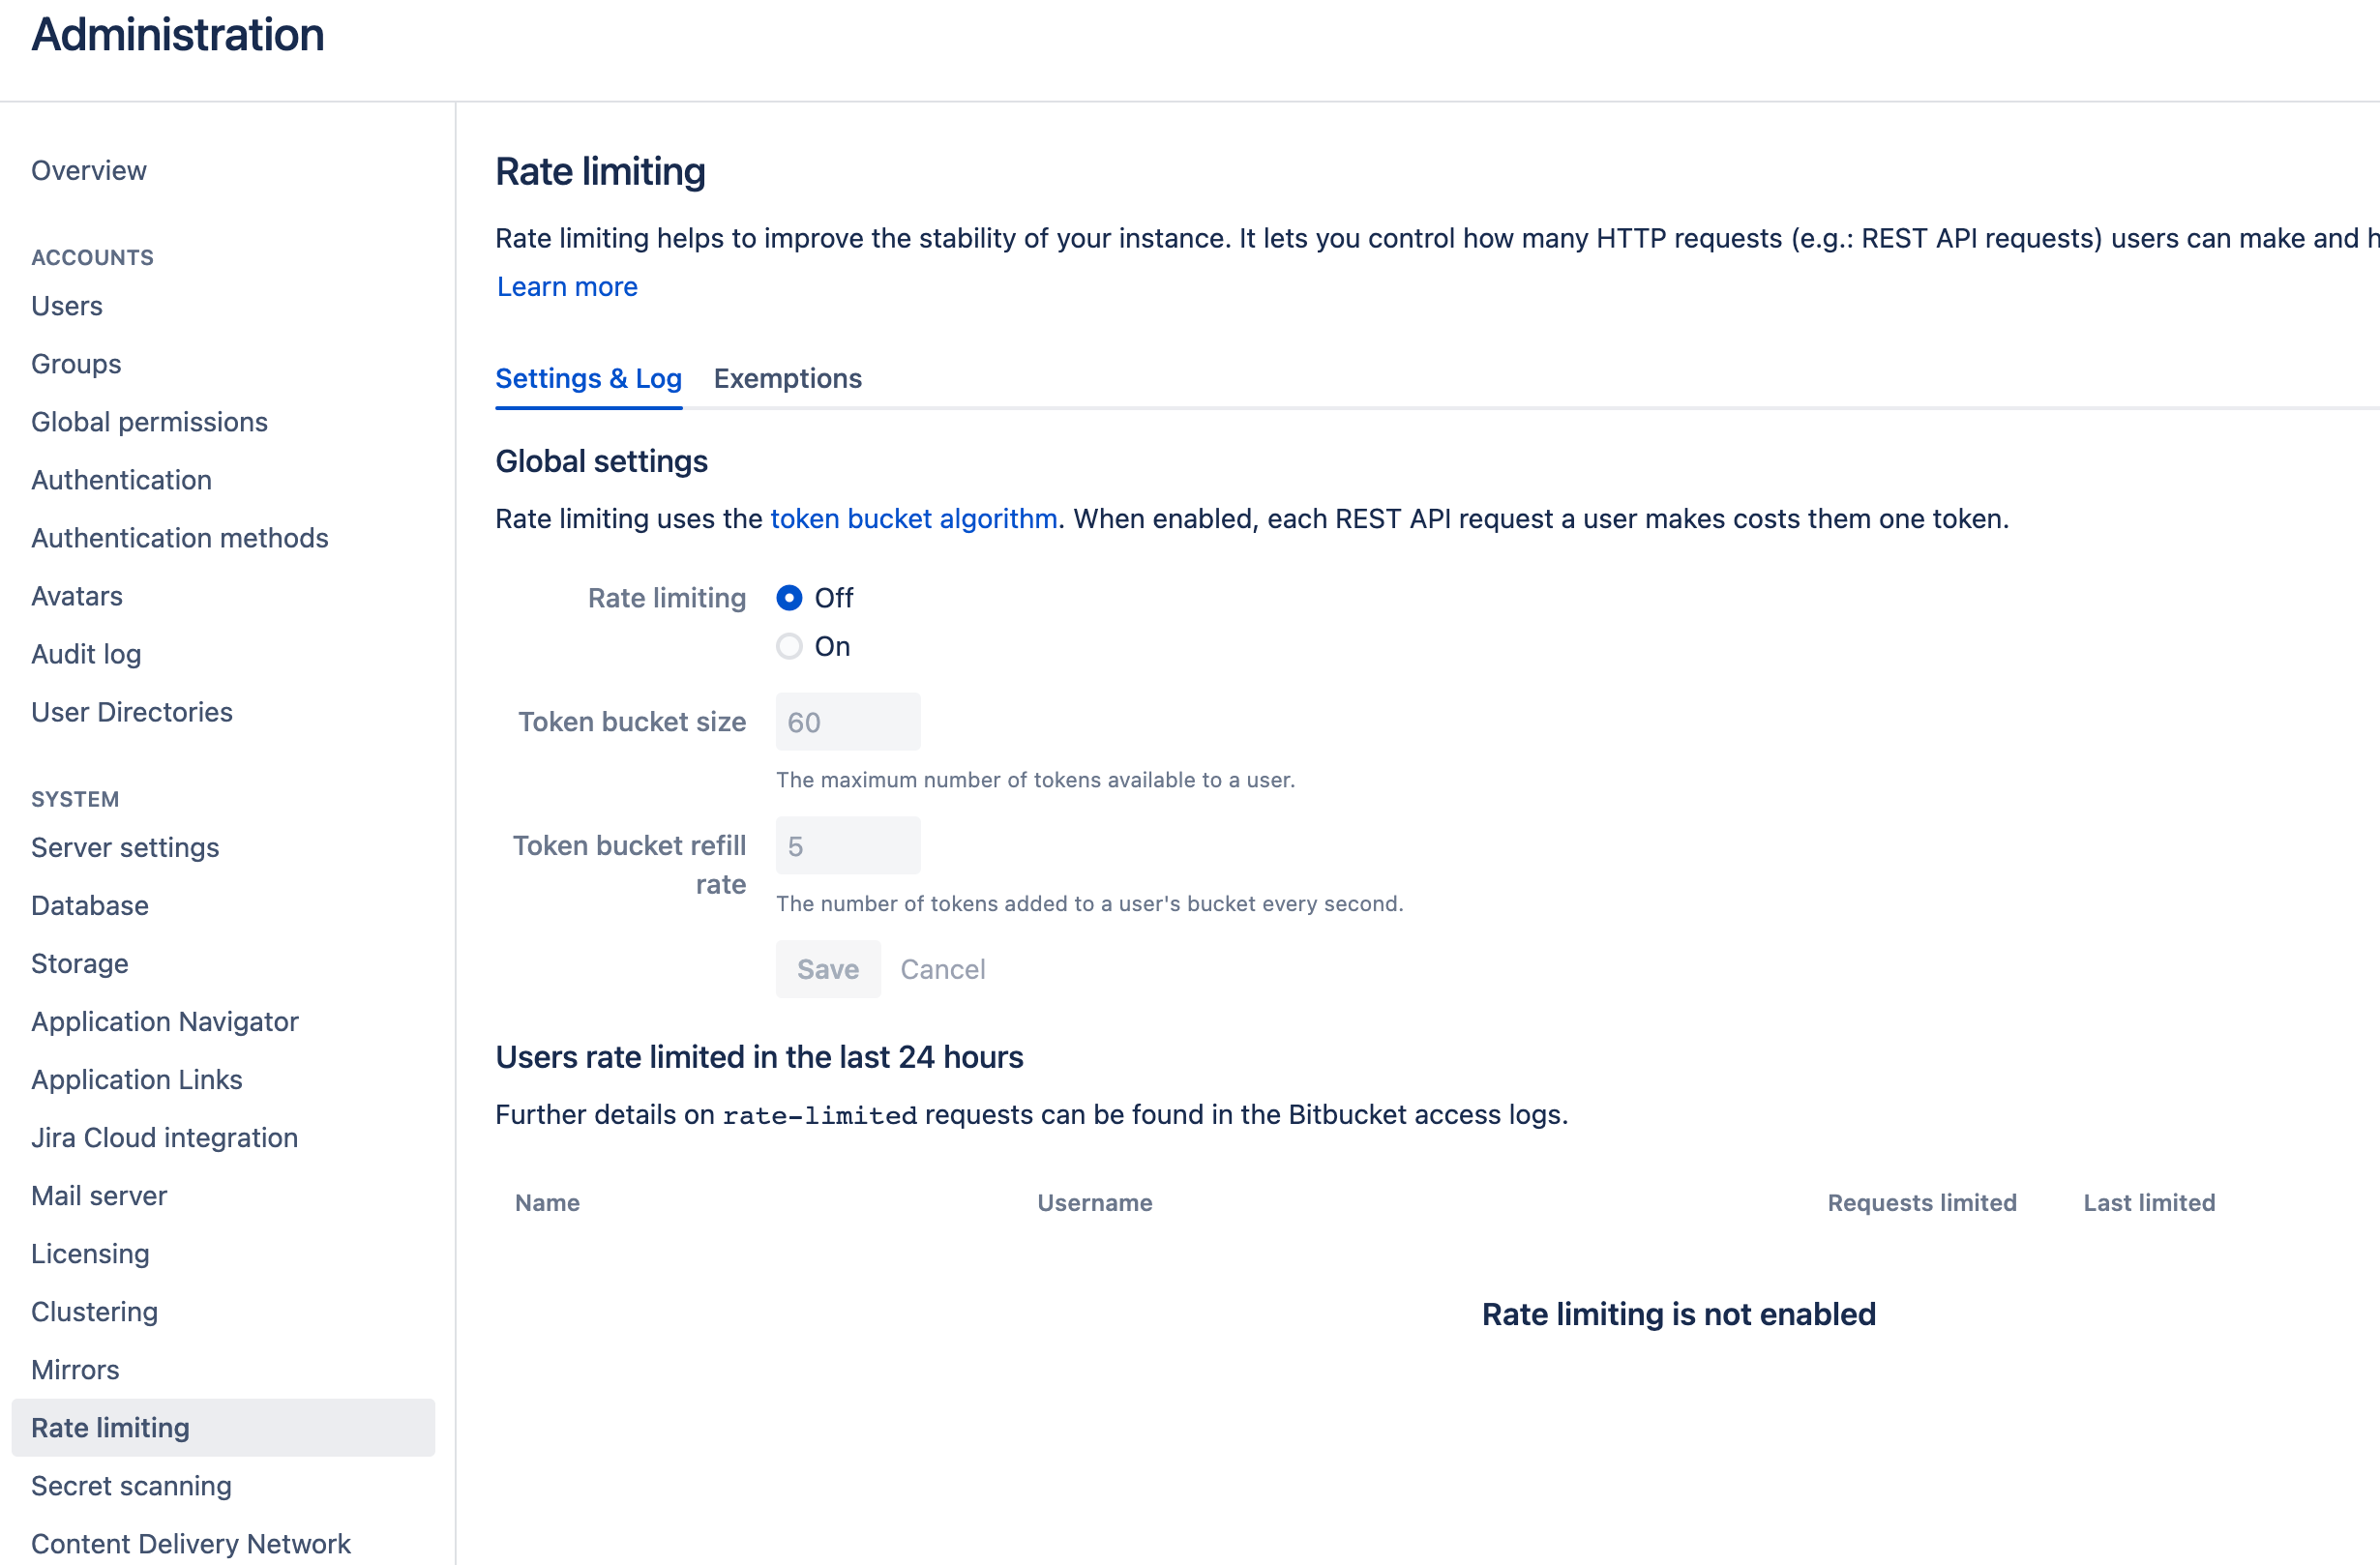
| #### Fixed Rate Limit (Optional) |
| |
| DevLake uses a dynamic rate limit to collect Bitbucket data. You can adjust the rate limit if you want to increase or lower the speed. |
| |
| The maximum rate limit for different entities in Bitbucket(Cloud) [varies from 1,000 - 60,000 requests/hour](https://support.atlassian.com/bitbucket-cloud/docs/api-request-limits/). The rate limit to access repository data is 1,000 requests/hour, but we find it can still run when we input a value that exceeds 1,000. You can try using a larger rate limit if you have large repositories. |
| |
| <!--  --> |
| |
| #### Test and Save Connection |
| |
| Click `Test Connection`, if the connection is successful, click `Save Connection` to add the connection. |
| |
| #### Migrating from App Password to API Token |
| |
| If you have an existing connection using an App password and want to migrate to an API token: |
| |
| 1. **Create an API token** in Bitbucket (see instructions above) |
| 2. **Edit your existing connection** in DevLake |
| 3. **Change the Authentication Method** from "App Password" to "API Token" |
| 4. **Enter your API token** in the token field |
| 5. **Test the connection** to verify it works |
| 6. **Save the connection** |
| |
| Your data collection will continue without interruption, and you'll be ready for the App password deprecation in 2026. |
| |
| ### Step 1.2 - Add Data Scopes |
| |
| Choose the Bitbucket repositories you wish to collect either by finding them in the miller column, or searching. You can only add public repositories through the search box. |
| |
|  |
| |
| ### Step 1.3 - Add Scope Config (Optional) |
| |
| #### Entities |
| |
| The entities of which domain you wish to collect: Usually, you don't |
| have to modify this part. However, if you don't want to collect certain |
| Bitbucket entities, you can unselect some entities to accelerate the |
| collection speed. |
| |
| - Issue Tracking: Bitbucket issues, issue comments, etc. |
| - Source Code Management: Bitbucket repos, refs, commits, etc. |
| - Code Review: Bitbucket PRs, PR comments, etc. |
| - CI/CD: Bitbucket Pipelines, Bitbucket Deployments, etc. |
| - Cross Domain: Bitbucket users, etc. |
| |
| #### Transformations |
| |
| The transformations on the Bitbucket data you are going to collect. |
| |
| - The details of the transformations will be explained below. |
| - Without adding transformation rules, you can still view the 'Bitbucket' dashboard. However, if you want to view more pre-built dashboards, finish the transformations required. |
| - Each Bitbucket repo has at most ONE set of transformations. |
| |
| ###### Issue Tracking > Issue Status Mapping |
| |
|  |
| |
| The given settings transformed the Bitbucket issue statuses to the issue statuses used by DevLake, enabling you to measure metrics like the Issue Delivery Rate on the pre-built dashboards, as DevLake understands your definition of when an issue is considered as completed (status = 'DONE'). |
| |
| - TODO: The issues that are planned but have not been worked on yet |
| - IN-PROGRESS: The issues that are work-in-progress |
| - DONE: The issues that are completed |
| - OTHER: Other issues statuses that do not belong to the three statuses above |
| |
| The original status will be saved in the column `original_status` of the table 'issues', and the new status will be saved in the column `status` of the same table. |
| |
| ###### Issue Tracking > Issue Type Mapping |
| |
| DevLake will convert the issue types of 'enhancement', 'proposal', and 'task' from Bitbucket into the new issue type 'REQUIREMENT' for DevLake. In contrast, any issues classified as 'bug' in Bitbucket will be converted into the new issue type 'BUG' for DevLake. The original type will be saved in the column `original_type` of the table 'issues', and the new type will be saved in the column `type` of the same table. |
| |
| ###### CI/CD |
| |
| The CI/CD configuration for Bitbucket is used for calculating [DORA metrics](../DORA.md). |
| |
| By default, DevLake will identify the deployment and environment settings that are defined in the Bitbucket CI .yml file. |
| |
|  |
| |
| However, to ensure this works properly, you must specify the deployment settings in the .yml file. |
|  |
| |
| The pipeline steps with the `deployment` key will be recognized as DevLake deployments. The value of the `deployment` key will be recognized as the environment of DevLake deployments. |
| |
| All Bitbucket pipeline steps will be saved in table 'cicd_tasks', but DevLake deployments will be set as `type` = 'deployment' and `environment` = '{Bitbucket-pipeline-step.deployment.value}'. |
| |
| If you have not defined these settings in the .yml file, please select 'Detect Deployments from Pipeline steps in Bitbucket', and input the RegEx in the following fields: |
| |
|  |
| |
| - Deployment: A pipeline step with a name that matches the given RegEx will be recognized as a DevLake deployment. |
| - Production: A pipeline step with a name that matches the given RegEx will be recognized as a DevLake cicd_task in the production environment. |
| |
| ###### Introduction to Bitbucket CI entities |
| |
| Bitbucket has several key CI entities: `pipelines`, `pipeline steps`, and `deployments`. A Bitbucket pipeline contains several pipeline steps. Each pipeline step defined with a deployment key can be mapped to a Bitbucket deployment. |
| |
| Each Bitbucket pipeline is converted to a cicd_pipeline in DevLake's domain layer schema and each Bitbucket pipeline step is converted to a cicd_task in DevLake's domain layer. |
|  |
| |
| If a pipeline step defines `deployment` with a value (usually indicating the environment), this pipeline step is also a Bitbucket deployment. |
| |
|  |
| |
| ###### Additional Settings (Optional) |
| |
| - Tags Limit: DevLake compares the last N pairs of tags to get the "commit diff', "issue diff" between tags. N defaults to 10. |
| |
| - commit diff: new commits for a tag relative to the previous one |
| - issue diff: issues solved by the new commits for a tag relative to the previous one |
| |
| - Tags Pattern: Only tags that meet the given Regular Expression will be counted. |
| |
| - Tags Order: Only "reverse semver" order is supported for now. |
| |
| Please click `Save` to save the transformation rules for the repo. In the data scope list, click `Next Step` to continue configuring. |
| |
| ## Step 2 - Collect Data in a Project |
| |
| ### Step 2.1 - Create a Project |
| |
| Collecting Bitbucket data requires creating a project first. You can visit the Project page from the side menu and create a new project by following the instructions on the user interface. |
| |
|  |
| |
| ### Step 2.2 - Add a Bitbucket Connection |
| |
| You can add a previously configured Bitbucket connection to the project and select the boards for which you wish to collect the data for. |
| Please note: if you don't see the repositories you are looking for, please check if you have added them to the connection first. |
| |
|  |
| |
| ### Step 2.3 - Set the Sync Policy |
| |
| There are three settings for Sync Policy: |
| |
| - Data Time Range: You can select the time range of the data you wish to collect. The default is set to the past six months. |
| - Sync Frequency: You can choose how often you would like to sync your data in this step by selecting a sync frequency option or enter a cron code to specify your preferred schedule. |
| - Skip Failed Tasks: sometime a few tasks may fail in a long pipeline; you can choose to skip them to avoid spending more time in running the pipeline all over again. |
| |
|  |
| |
| ### Step 2.4 - Start Data Collection |
| |
| Click on "Collect Data" to start collecting data for the whole project. You can check the status in the Status tab on the same page. |
| |
| ## Troubleshooting |
| |
| If you run into any problems, please check the [Troubleshooting](/Troubleshooting/Configuration.md) or [create an issue](https://github.com/apache/incubator-devlake/issues). |
