| --- |
| title: key-auth |
| keywords: |
| - APISIX |
| - Plugin |
| - Key Auth |
| - key-auth |
| description: This document contains information about the Apache APISIX key-auth Plugin. |
| --- |
| |
| <!-- |
| # |
| # Licensed to the Apache Software Foundation (ASF) under one or more |
| # contributor license agreements. See the NOTICE file distributed with |
| # this work for additional information regarding copyright ownership. |
| # The ASF licenses this file to You under the Apache License, Version 2.0 |
| # (the "License"); you may not use this file except in compliance with |
| # the License. You may obtain a copy of the License at |
| # |
| # http://www.apache.org/licenses/LICENSE-2.0 |
| # |
| # Unless required by applicable law or agreed to in writing, software |
| # distributed under the License is distributed on an "AS IS" BASIS, |
| # WITHOUT WARRANTIES OR CONDITIONS OF ANY KIND, either express or implied. |
| # See the License for the specific language governing permissions and |
| # limitations under the License. |
| # |
| --> |
| |
| ## Description |
| |
| The `key-auth` Plugin is used to add an authentication key (API key) to a Route or a Service. |
| |
| This works well with a [Consumer](../terminology/consumer.md). Consumers of the API can then add their key to the query string or the header to authenticate their requests. |
| |
| ## Attributes |
| |
| For Consumer: |
| |
| | Name | Type | Requirement | Description | |
| |------|--------|-------------|----------------------------| |
| | key | string | required | Unique key for a Consumer. | |
| |
| NOTE: `encrypt_fields = {"key"}` is also defined in the schema, which means that the field will be stored encrypted in etcd. See [encrypted storage fields](../plugin-develop.md#encrypted-storage-fields). |
| |
| For Route: |
| |
| | Name | Type | Requirement | Default | Valid | Description | |
| |--------|--------|-------------|---------|-------|-------------------------------------------------------------------------------------------------------------------------------------------------------------------------------------------------------------------------------------------------------------------------------| |
| | header | string | optional | apikey | | The header to get the key from. | |
| | query | string | optional | apikey | | The query string to get the key from. Lower priority than header. | |
| | hide_credentials | bool | optional | false | | Apache APISIX will pass the request header or query string that contains the authentication information to the Upstream if `hide_credentials` is `false`. Otherwise the authentication information will be removed before proxying.| |
| |
| ## Enabling the Plugin |
| |
| To enable the Plugin, you have to create a Consumer object with an authentication key and configure your Route to authenticate requests. |
| |
| First you can create a Consumer object through the [Admin API](../admin-api.md) with a unique key: |
| |
| ```shell |
| curl http://127.0.0.1:9180/apisix/admin/consumers -H 'X-API-KEY: edd1c9f034335f136f87ad84b625c8f1' -X PUT -d ' |
| { |
| "username": "jack", |
| "plugins": { |
| "key-auth": { |
| "key": "auth-one" |
| } |
| } |
| }' |
| ``` |
| |
| You can also use the [APISIX Dashboard](/docs/dashboard/USER_GUIDE) to complete the operation through a web UI. |
| |
| First, create a Consumer object: |
| |
| 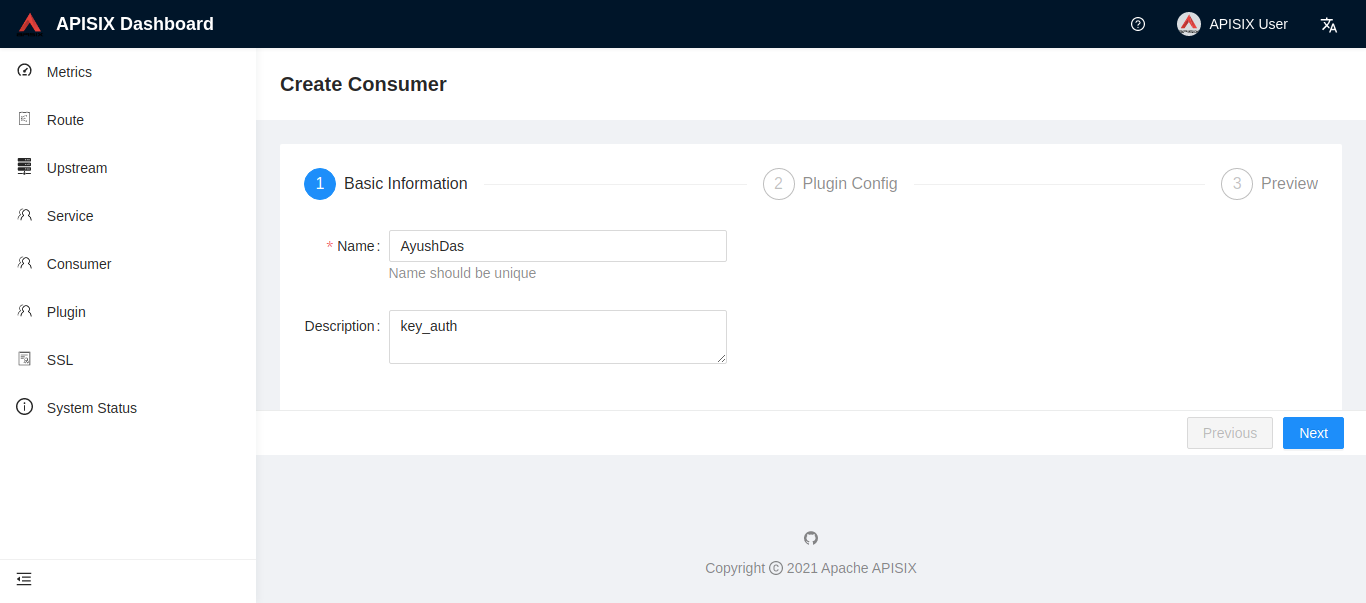 |
| |
| You can then add the `key-auth` Plugin: |
| |
| 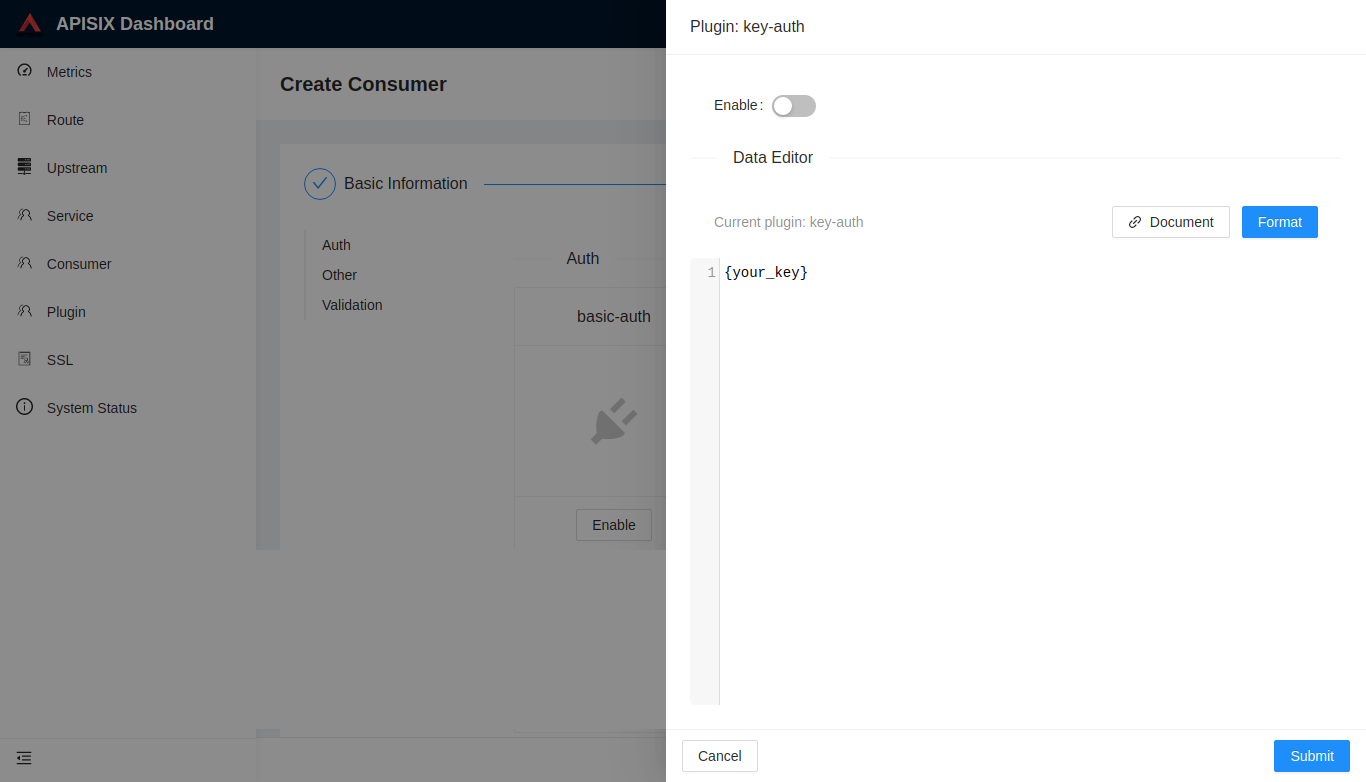 |
| |
| Once you have created a Consumer object, you can then configure a Route or a Service to authenticate requests: |
| |
| ```shell |
| curl http://127.0.0.1:9180/apisix/admin/routes/1 -H 'X-API-KEY: edd1c9f034335f136f87ad84b625c8f1' -X PUT -d ' |
| { |
| "methods": ["GET"], |
| "uri": "/index.html", |
| "id": 1, |
| "plugins": { |
| "key-auth": {} |
| }, |
| "upstream": { |
| "type": "roundrobin", |
| "nodes": { |
| "127.0.0.1:1980": 1 |
| } |
| } |
| }' |
| ``` |
| |
| To fetch the key from a different header than `apikey`, change the `header` in the configuration: |
| |
| ```json |
| { |
| "key-auth": { |
| "header": "Authorization" |
| } |
| } |
| ``` |
| |
| ## Example usage |
| |
| After you have configured the Plugin as mentioned above, you can make a request as shown: |
| |
| ```shell |
| curl http://127.0.0.2:9080/index.html -H 'apikey: auth-one' -i |
| ``` |
| |
| ``` |
| HTTP/1.1 200 OK |
| ... |
| ``` |
| |
| And if the request has a missing key or a wrong key: |
| |
| ```shell |
| curl http://127.0.0.2:9080/index.html -i |
| ``` |
| |
| ``` |
| HTTP/1.1 401 Unauthorized |
| ... |
| {"message":"Missing API key found in request"} |
| ``` |
| |
| ```shell |
| curl http://127.0.0.2:9080/index.html -H 'apikey: abcabcabc' -i |
| ``` |
| |
| ``` |
| HTTP/1.1 401 Unauthorized |
| ... |
| {"message":"Invalid API key in request"} |
| ``` |
| |
| ## Disable Plugin |
| |
| To disable the `key-auth` Plugin, you can delete the corresponding JSON configuration from the Plugin configuration. APISIX will automatically reload and you do not have to restart for this to take effect. |
| |
| ```shell |
| curl http://127.0.0.1:9180/apisix/admin/routes/1 -H 'X-API-KEY: edd1c9f034335f136f87ad84b625c8f1' -X PUT -d ' |
| { |
| "uri": "/index.html", |
| "plugins": {}, |
| "upstream": { |
| "type": "roundrobin", |
| "nodes": { |
| "127.0.0.1:1980": 1 |
| } |
| } |
| }' |
| ``` |